Warp workflows to add resources to the Meroxa Platform
This is a legacy platform changelog. The information reflected here may not represent current functionality and some links may be broken.
If you're using Warp as your CLI terminal, you'll now be able to use Warp Workflows to easily add resources to the Meroxa Platform.
In order to use the power of our Meroxa Platform, first thing you need to do is configure a data resource via our CLI or Dashboard UI.
Each type of resource has its own configuration structure, and Warp workflows make adding them using the CLI incredibly ease to use.
Here's an example:
Without using a Warp workflow, in order to add a Snowflake resource to the Meroxa Platform, you'd need to type the following:
$ meroxa resource create snowflake \
  --type snowflakedb \
  --url "snowflake://$SNOWFLAKE_URL/meroxa_db/stream_data" \
  --username meroxa_user \
  --password $SNOWFLAKE_PRIVATE_KEY
While you could figure this out yourself by typing meroxa help resources create or reading its documentation, this is not a great Developer Experience.
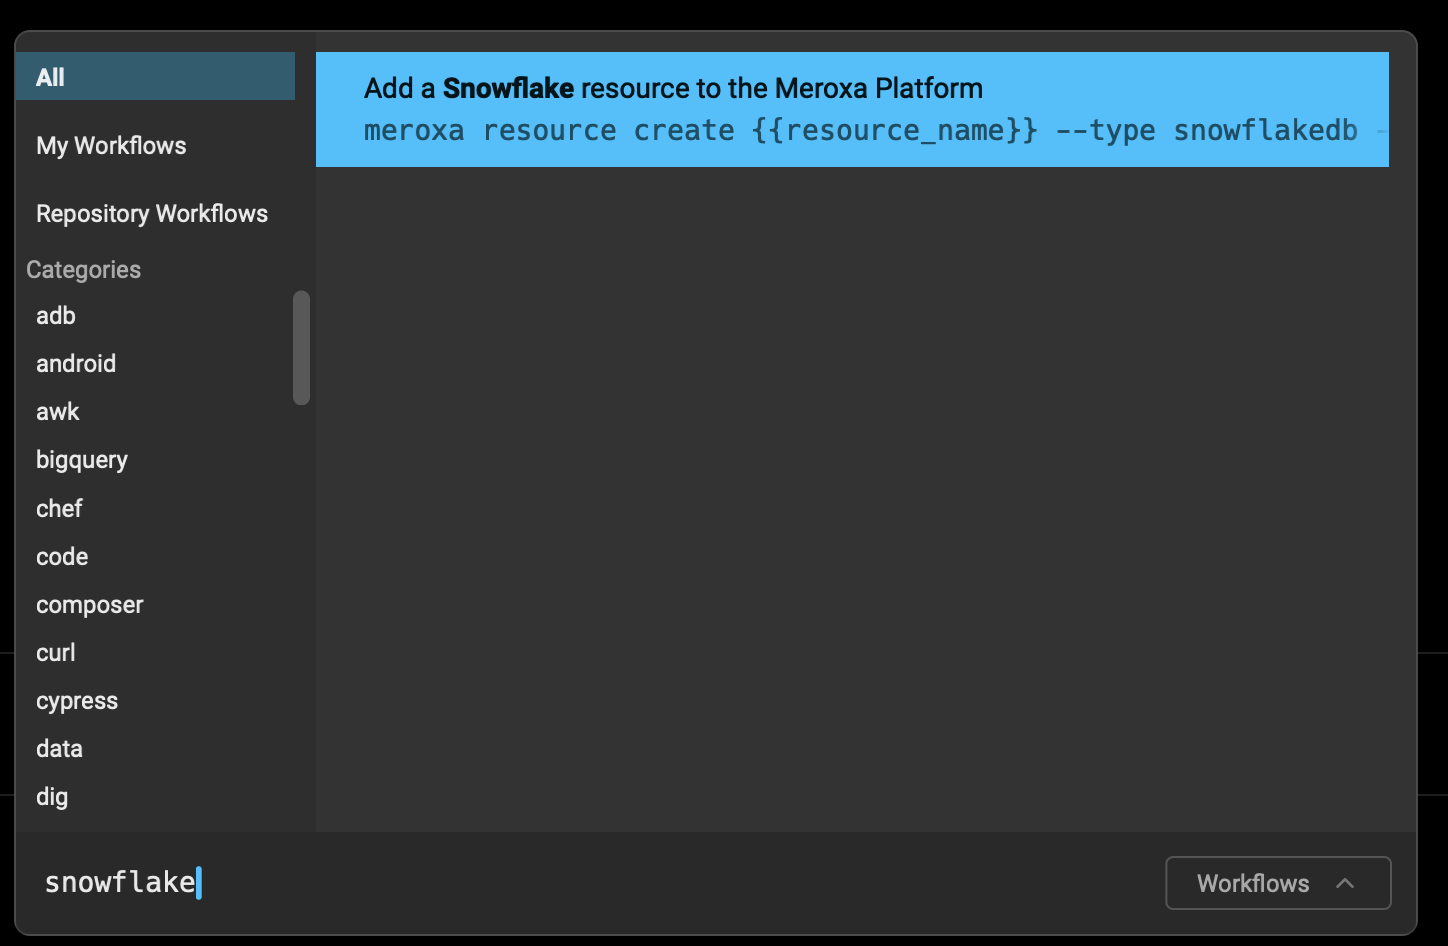
Instead, using Warp, you could simply press SHIFT+CTRL+R and search for your desired resource type. In our example snowflake:

And then, you're ready to only fill in the blanks:

To check what other workflows are available, you can also type Meroxa and you'll see everything that's available. The most up to date list is available in Warp's repository.
If you're missing a specific Warp workflow you'd like to use, let us know. We always want to hear from you:
- You can reach us directly at [email protected].
- Join our Discord community.
- Follow us on Twitter.